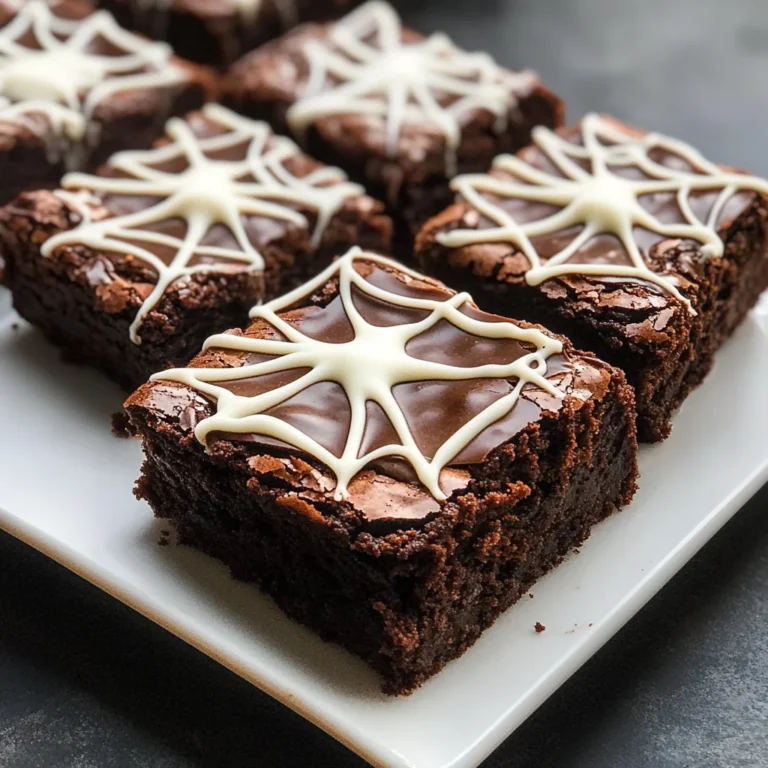
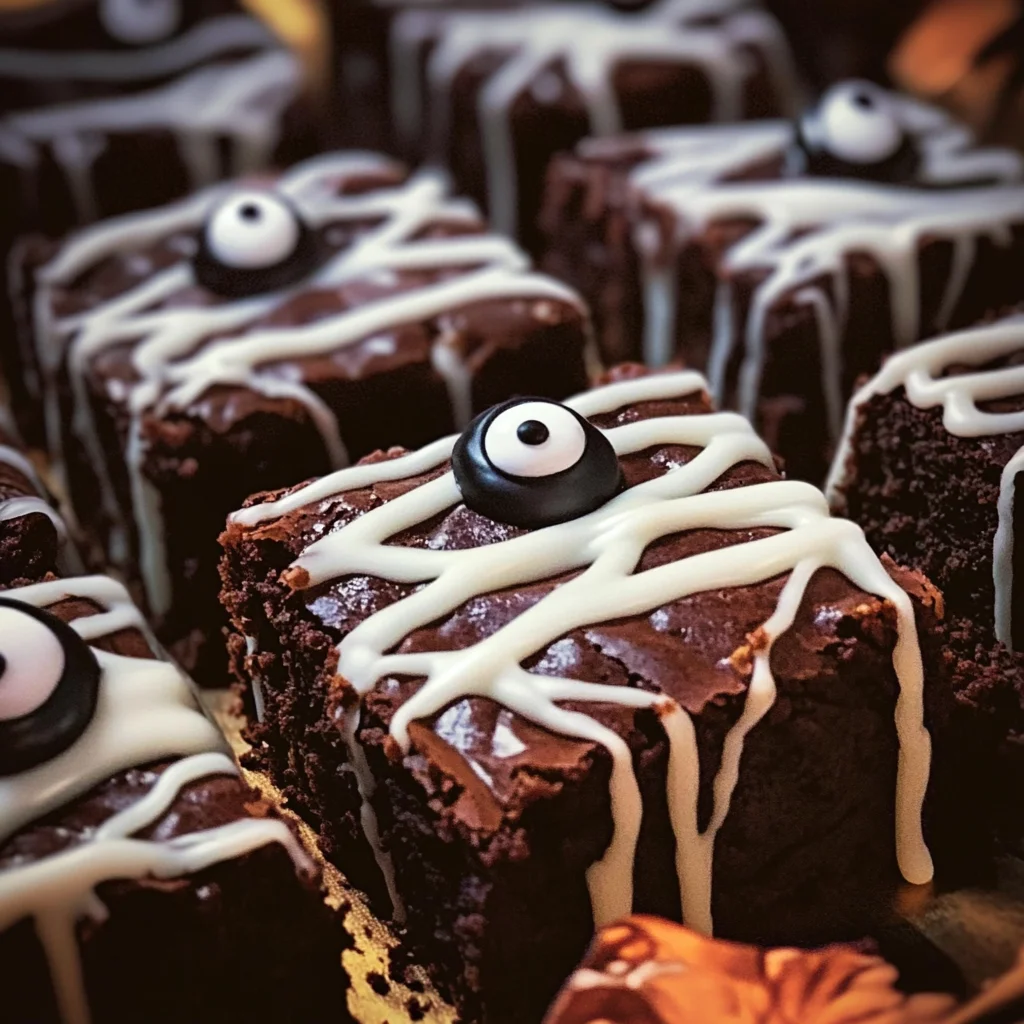
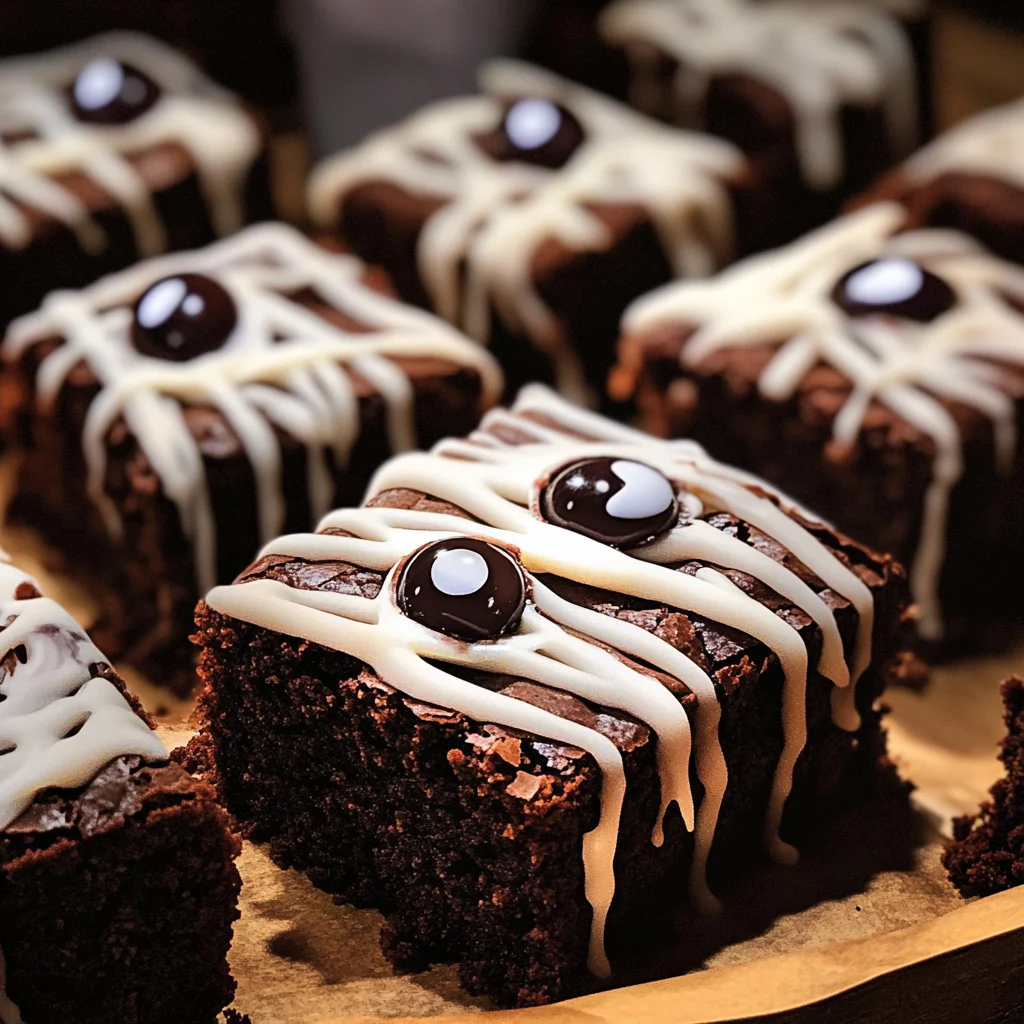
spooky mummy brownies
If you’re looking for a fun and festive treat that will delight both kids and adults alike, these spooky mummy brownies are just the ticket! Perfect for Halloween parties, family gatherings, or even a cozy night in with your loved ones, these brownies are not only adorable but also incredibly delicious. With their rich chocolatey flavor and cute little candy eyes peeking out from the icing, they’ll enchant everyone who lays eyes on them.
What makes this recipe so special is how simple it is to whip up a batch of spooky mummy brownies. You can easily involve the kids in the decorating process, making it a wonderful family activity. Plus, they’re perfect for those busy weeknights when you want to surprise your family with something sweet!
Why You’ll Love This Recipe
- Easy to Make: With straightforward steps, even beginner bakers can confidently create these delightful treats.
- Family-Friendly Fun: Decorating these brownies is a great way to spend time with kids and spark their creativity.
- Rich Chocolate Flavor: These brownies are packed with dark chocolate goodness that satisfies any sweet tooth.
- Perfect for Any Occasion: Whether it’s Halloween or just a regular day, these spooky treats add a festive flair to any dessert table.
- Make Ahead Option: Bake them in advance; they stay delicious for days!
Ingredients You’ll Need
Let’s gather our simple and wholesome ingredients! This list has everything you need to create those scrumptious spooky mummy brownies that everyone will love.
- 10 tbsp butter
- 1 1/2 cups dark chocolate chips or chunks
- 1 cup sugar
- 1/4 cup dark brown sugar
- 3 eggs, at room temperature
- 1 tsp espresso powder (optional)
- 2 tsp vanilla extract
- 3/4 cup all-purpose flour
- 1/3 cup unsweetened cocoa powder
- 1/2 tsp baking powder
- 1/2 tsp kosher salt
- 1 package candy eyes
- 20 oz semi-sweet or milk chocolate chips
- 1 tbsp coconut oil
- 1 cup powdered sugar
- 2–3 tbsp heavy cream, to thin
Variations
One of the best things about spooky mummy brownies is how flexible this recipe can be! Feel free to mix things up based on your preferences or what you have on hand.
- Add Nuts: If you love a bit of crunch, incorporate some chopped nuts like walnuts or pecans into the batter.
- Go Minty: For a refreshing twist, add a few drops of mint extract into the brownie batter before baking.
- Play with Toppings: Use different kinds of candy or sprinkles instead of candy eyes for unique designs!
- Swap the Chocolate: Try using white chocolate chips for a lighter flavor and different look in your mummies.
How to Make spooky mummy brownies
Step 1: Preheat Your Oven
Start by preheating your oven to 350 degrees. This ensures that your spooky mummy brownies bake evenly. Line a 9 x 9 inch cake pan with parchment paper so that it hangs over the edges; this will help you easily remove them later.
Step 2: Melt Chocolate and Butter
In a microwave-safe bowl, combine 1 cup of chocolate chips with the butter and heat for one minute. Stir until smooth. If needed, pop it back in the microwave for another 20 seconds. This step is crucial because melting the chocolate properly gives your brownies their rich flavor.
Step 3: Combine Sugars
Whisk in both sugars until they dissolve completely into the warm chocolate mixture. This ensures every bite is sweet and flavorful!
Step 4: Beat Your Eggs
In a stand mixer, beat the eggs until frothy—about two to three minutes. This adds air into the mixture and helps create that lovely fluffy texture in your brownies. Slowly stream in the melted chocolate while mixing until smooth.
Step 5: Add Dry Ingredients
Now it’s time to mix in your dry ingredients! Add flour, cocoa powder, baking powder, and salt to the chocolate mixture and beat until just combined. Folding in any remaining chocolate chips at this stage will give delicious pockets of melted chocolate throughout.
Step 6: Bake Your Brownies
Spread your brownie batter evenly into the prepared pan using a spatula. Bake for about 25–30 minutes until a toothpick comes out with just a few moist crumbs attached. Let them cool completely before cutting into squares—this ensures clean edges!
Step 7: Prepare Coating
For that delightful outer layer, melt together semi-sweet or milk chocolate chips with coconut oil in another bowl using the same microwave method as before. Let it cool slightly before dipping.
Step 8: Coat Brownies
Take each brownie square from the freezer and dip it into the melted chocolate coating using a fork. Make sure all sides are covered before placing them on parchment paper again. Chill them in the fridge for another fifteen minutes until set.
Step 9: Decorate Your Mummies
To make bandage icing, whisk powdered sugar with heavy cream until thick yet spreadable (like Elmer’s glue). Use a zip-top bag with one corner snipped off or a pastry bag to pipe crisscross “bandages” on each brownie. Don’t forget to place those adorable candy eyes on top!
Final Touches
Let them harden for about ten minutes before serving. Enjoy every spooky bite of these wonderfully cute and utterly delicious spooky mummy brownies! They’re sure to become a favorite during Halloween—and beyond!
Pro Tips for Making spooky mummy brownies
Making these spooky mummy brownies is a fun and rewarding experience, especially when you get to share them with friends and family!
- Use room temperature ingredients: Starting with eggs and butter at room temperature helps create a smoother batter, which results in fudgier brownies.
- Don’t overmix the batter: Mixing just until combined ensures your brownies remain soft and chewy instead of becoming tough.
- Chill before coating: Freezing the brownies for a short time before dipping them in chocolate helps the coating adhere better, providing that perfect finish.
- Customize your decorations: Feel free to get creative with the bandage icing! You can use colored icing or sprinkles to add some extra flair to your spooky mummies.
- Store properly: Keep any leftovers in an airtight container at room temperature for up to 3 days to maintain their freshness.
How to Serve spooky mummy brownies
These delightful spooky mummy brownies are not only delicious but also a visual treat! Presenting them well can make your Halloween gatherings even more festive.
Garnishes
- Chocolate shavings: A sprinkle of chocolate shavings adds an extra layer of chocolatey goodness and makes your mummies look even more enticing.
- Candy corn: Adding a few pieces of candy corn around the brownies can bring a pop of color and enhance the Halloween spirit.
Side Dishes
- Pumpkin spice whipped cream: This creamy topping complements the rich chocolate flavor of the brownies while adding a seasonal twist.
- Vanilla ice cream: The smooth, creamy texture of vanilla ice cream pairs beautifully with warm brownies, creating a classic dessert combination.
- Fruit salad: A refreshing fruit salad serves as a light contrast to the rich chocolate, balancing out your dessert table.
- Spiced chai latte: This warm beverage invites cozy flavors that perfectly match with desserts, making it an ideal pairing for your spooky treats.
Now that you’re armed with these tips and serving ideas, it’s time to whip up some delightful spooky mummy brownies that will wow everyone at your next gathering! Enjoy!
Make Ahead and Storage
These spooky mummy brownies are perfect for meal prep and make-ahead treats! You can whip up a batch in advance, making them an ideal dessert for parties or Halloween gatherings. Here’s how to store and enjoy them later.
Storing Leftovers
- Store brownies in an airtight container at room temperature for up to 3 days.
- For longer freshness, keep them in the fridge for up to a week.
- Ensure each brownie is separated by parchment paper to prevent sticking.
Freezing
- Freeze brownies by wrapping each piece tightly in plastic wrap, then placing them in a freezer-safe bag.
- They can be frozen for up to 2 months.
- Thaw overnight in the fridge before serving.
Reheating
- To enjoy warm brownies, preheat your oven to 350°F (175°C).
- Place the brownies on a baking tray and cover with foil to prevent over-baking.
- Heat for about 10-15 minutes until warmed through.
FAQs
Got questions? No problem! Here are some common queries related to spooky mummy brownies.
Can I make spooky mummy brownies ahead of time?
Absolutely! You can prepare these delightful brownies ahead of time. Just store them in an airtight container at room temperature or refrigerate them for freshness until you’re ready to decorate.
What makes these spooky mummy brownies so special?
These spooky mummy brownies are not only deliciously fudgy but also fun and festive! Their cute decoration makes them perfect for Halloween celebrations or any fall festivity.
How can I customize my spooky mummy brownies?
Feel free to add your favorite toppings or flavors! Consider adding nuts, different chocolate types, or even sprinkles. The bandage icing can also be colored for added flair!
Can I use other types of chocolate?
Yes! While this recipe suggests dark and semi-sweet chocolate, you can experiment with white chocolate or even flavored chocolates to suit your taste preferences.
Final Thoughts
I hope you enjoy making these adorable spooky mummy brownies as much as I do! They bring joy and charm to any gathering while satisfying that sweet tooth. Remember, it’s all about having fun in the kitchen and sharing delightful treats with loved ones. Happy baking!