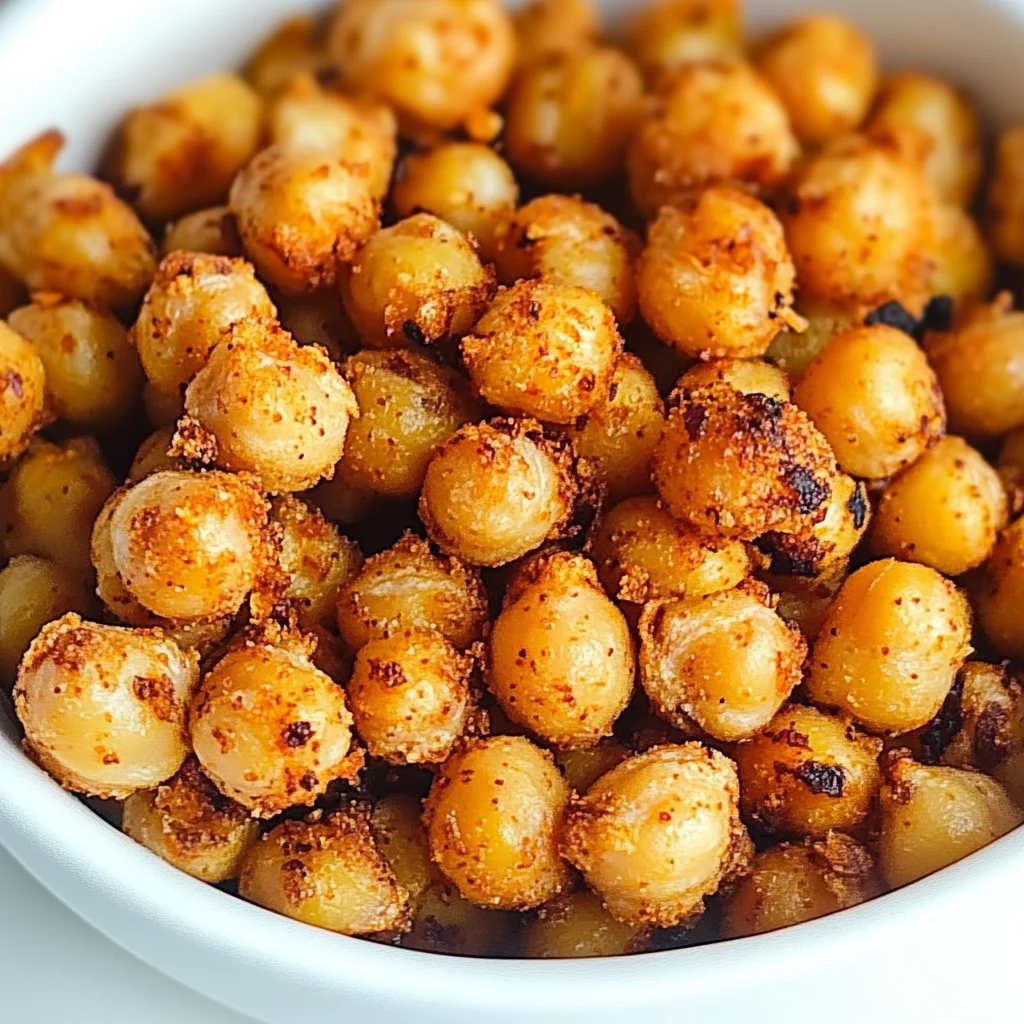
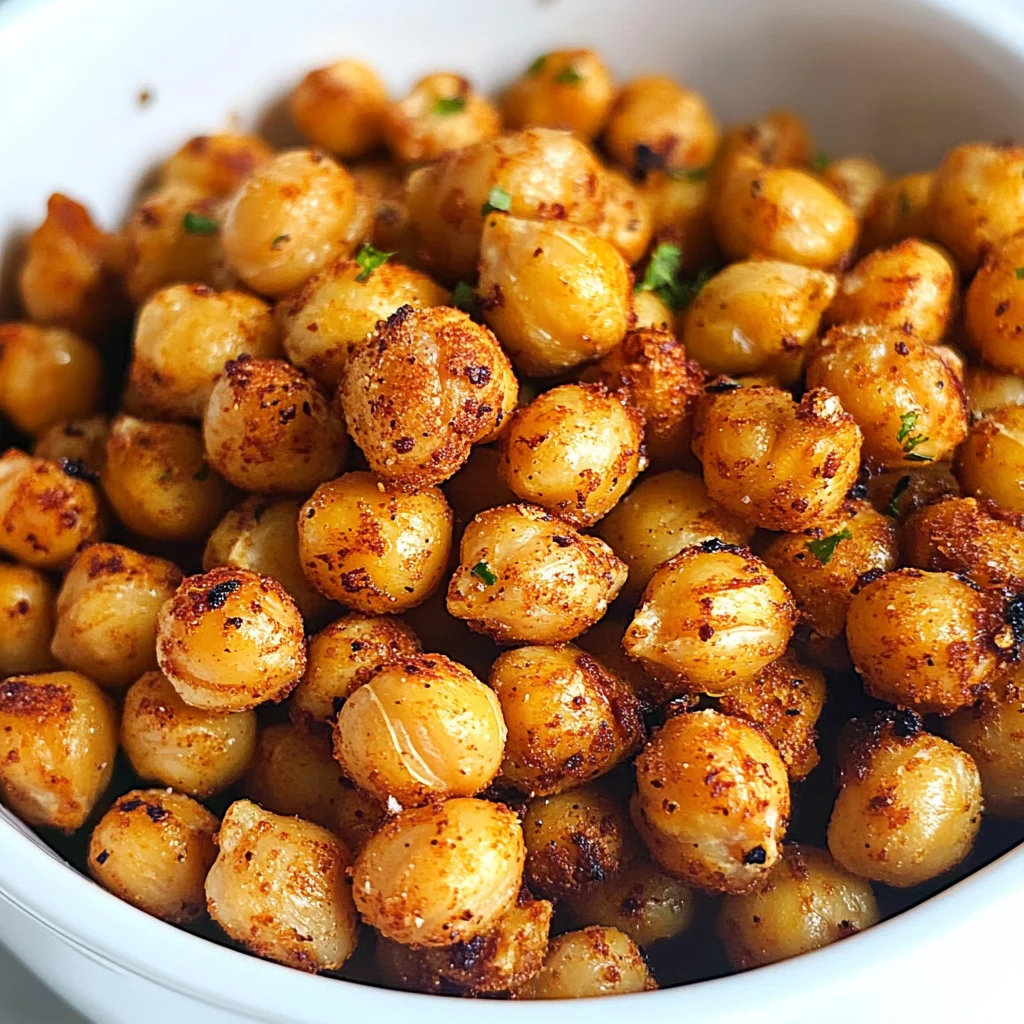
Air-Fried Chickpea Poppers
If you’re looking for a quick and delicious snack that’s packed with flavor, you’ve come to the right place! These Air-Fried Chickpea Poppers are one of my favorite go-to recipes when I need a healthy bite. They’re not only easy to whip up but also perfect for busy weeknights or family gatherings. Whether you’re enjoying them as a crispy snack while binge-watching your favorite show or serving them at a party, these little poppers are sure to impress!
What makes this recipe truly special is how versatile it is. You can easily customize the spices and herbs based on your preferences, making them suitable for everyone at the table.
Why You’ll Love This Recipe
- Quick and Easy: With just a few simple steps, you can have a tasty snack in no time. Perfect for those busy days!
- Healthy Snack Option: Packed with protein and fiber from chickpeas, these poppers are a guilt-free treat.
- Customizable Flavors: Feel free to experiment with different herbs and spices to match your taste.
- Family-Friendly: Everyone loves crispy snacks! These poppers are great for kids and adults alike.
- Make-Ahead Convenience: Prepare them in advance and air fry them when you’re ready to serve!
Ingredients You’ll Need
You won’t need anything fancy for these Air-Fried Chickpea Poppers—just simple, wholesome ingredients that you probably already have at home. Here’s what you’ll need:
- Chickpeas (Garbanzo Beans): The heart of our poppers! We’ll need canned chickpeas, drained and rinsed. They provide a wonderful texture and are packed with protein and fiber.
- Olive Oil (or Avocado Oil): A little bit of oil helps to get those chickpeas wonderfully crispy in the air fryer and ensures the seasonings stick. Choose a healthy oil like olive or avocado oil.
- Paprika: This adds a beautiful smoky sweetness and vibrant color to our poppers.
- Garlic Powder: For that classic savory garlic flavor that enhances the overall taste.
- Onion Powder: Adds a subtle sweetness and depth of flavor, complementing the garlic powder perfectly.
- Salt: Essential for bringing out all the flavors and balancing the seasonings.
- Black Pepper: A touch of black pepper provides a mild spice and rounds out the flavor profile.
- (Optional) Cayenne Pepper or Chili Powder: For a little kick! If you like a bit of heat, a pinch of cayenne pepper or chili powder will add a delightful warmth.
- (Optional) Dried Herbs (like Oregano, Thyme, or Rosemary): To customize the flavor! Dried herbs can add an extra layer of complexity and aroma.
Variations
This recipe is wonderfully flexible! Here are some fun variations you might want to try:
- Add Some Heat: If you’re feeling adventurous, toss in some red pepper flakes or more cayenne pepper for an extra spicy kick!
- Herb Infusion: Experiment with fresh herbs like parsley or cilantro for added freshness. Just chop finely before adding!
- Zesty Twist: Add lemon zest to brighten up the flavors. It gives your poppers a refreshing citrus note!
- Cheesy Goodness: Sprinkle nutritional yeast over the chickpeas before air frying for a cheesy flavor without dairy.
How to Make Air-Fried Chickpea Poppers
Step 1: Prepare the Chickpeas
Begin by thoroughly draining and rinsing your canned chickpeas. This step is crucial because it removes excess sodium and starchy liquid, helping them crisp up beautifully in the air fryer. Once rinsed, gently pat the chickpeas completely dry using paper towels or a clean kitchen towel. The drier they are, the crispier they’ll become!
Step 2: Season the Chickpeas
In a medium-sized bowl, place your dried chickpeas. Drizzle them lightly with olive oil (or avocado oil). Don’t overdo it—just enough to coat them evenly. Now it’s time to sprinkle in your seasonings: paprika, garlic powder, onion powder, salt, and black pepper. If you’re craving some heat, this is when you’d add cayenne pepper or chili powder along with any dried herbs.
Step 3: Mix Well
Using your hands or a spoon, toss everything together until each chickpea is coated in oil and seasoning. This even coating is key for consistent flavor throughout every bite!
Step 4: Preheat Your Air Fryer
Preheat your air fryer to 400°F (200°C). Preheating ensures that our chickpeas start cooking immediately; this helps achieve that signature crispy texture we all love!
Step 5: Air Fry the Chickpeas
Once preheated, carefully place your seasoned chickpeas into the air fryer basket in one single layer—no overcrowding here! If needed, cook in batches so they can crisp up properly. Air fry for about 12-15 minutes while shaking the basket halfway through cooking to promote even browning.
Step 6: Check for Crispiness
After cooking time has lapsed, check one of your chickpeas for crispiness. If they aren’t quite there yet, continue air frying for another 2-3 minutes but be sure to check frequently so they don’t burn!
Step 7: Cool and Serve
Once they’re golden brown and crispy perfection has been achieved, remove them from the air fryer basket. Let them cool slightly on a plate or wire rack; this helps enhance their crunchiness even more! Serve warm as an irresistible snack or appetizer—and enjoy immediately for best texture!
Pro Tips for Making Air-Fried Chickpea Poppers
To make your Air-Fried Chickpea Poppers even more delightful, here are some handy tips that will elevate your cooking game!
- Pat Them Dry: Ensuring that your chickpeas are thoroughly dried before seasoning is crucial. This helps them achieve that sought-after crispy texture in the air fryer.
- Season Generously: Don’t hold back on the seasonings! A good coating of spices not only enhances flavor but also contributes to a more vibrant and enjoyable eating experience.
- Don’t Overcrowd the Basket: Cook your chickpeas in a single layer to allow hot air to circulate evenly. Overcrowding can lead to steaming rather than crisping, resulting in less desirable poppers.
- Shake It Up: Halfway through cooking, give the air fryer basket a shake or toss the chickpeas. This ensures they cook evenly on all sides and helps achieve that perfect crunch.
- Experiment with Flavors: Feel free to play around with different spices and herbs! Adding ingredients like curry powder or smoked paprika can change up the flavor profile and keep things exciting.
How to Serve Air-Fried Chickpea Poppers
These Air-Fried Chickpea Poppers are not just delicious; they’re versatile too! Whether you’re serving them as a snack, appetizer, or part of a meal, there are plenty of ways to present this delightful dish.
Garnishes
- Fresh Herbs: Chopped parsley or cilantro add a burst of freshness and color.
- Lemon Wedges: A squeeze of lemon juice right before enjoying adds brightness and acidity that elevates the flavors.
- Dipping Sauce: Consider serving with a zesty dipping sauce like tahini, hummus, or a yogurt-based dip for an extra layer of flavor.
Side Dishes
- Quinoa Salad: A light quinoa salad with cucumbers, tomatoes, and a lemon vinaigrette pairs perfectly for a refreshing side.
- Roasted Vegetables: Seasonal roasted veggies such as bell peppers, zucchini, or carrots complement the poppers beautifully and add nutrition.
- Cucumber Raita: This cool yogurt-based dip with cucumber and mint offers contrast in texture and flavor while balancing out the spices from the chickpeas.
- Whole Grain Pita Bread: Serve warm pita bread alongside for dipping or scooping up any remaining chickpea goodness.
With these tips and serving ideas, you’ll be well on your way to creating an irresistible dish that everyone will love! Enjoy your Air-Fried Chickpea Poppers!
Make Ahead and Storage
These Air-Fried Chickpea Poppers are perfect for meal prep! They make a fantastic snack or addition to meals throughout the week. You can easily prepare them in advance and store them for quick access whenever hunger strikes.
Storing Leftovers
- Allow the chickpea poppers to cool completely before storing.
- Transfer them to an airtight container.
- Store in the refrigerator for up to 4 days.
- To maintain crispiness, avoid stacking them too closely.
Freezing
- Lay the cooked chickpeas in a single layer on a baking sheet.
- Freeze until solid, then transfer to a freezer-safe bag or container.
- They can be frozen for up to 2 months.
- Label with the date for easy tracking.
Reheating
- Preheat your air fryer to 350°F (175°C).
- Place frozen or refrigerated chickpea poppers in the basket.
- Air fry for about 5-7 minutes until heated through and crispy again.
FAQs
Here are some common questions about Air-Fried Chickpea Poppers that might help you out!
Can I make Air-Fried Chickpea Poppers without oil?
Yes! You can skip the oil, but keep in mind that they may not get as crispy. Consider using an oil spray instead for a lighter coating.
How do I adjust the spiciness of my Air-Fried Chickpea Poppers?
You can easily customize the spice level by adjusting the amount of cayenne pepper or chili powder. Start with a small pinch and add more according to your taste preferences.
What are some good dipping sauces for Air-Fried Chickpea Poppers?
These poppers pair wonderfully with hummus, tzatziki, or a spicy yogurt sauce. Feel free to get creative with your favorite dips!
Final Thoughts
I hope you enjoy making these delightful Air-Fried Chickpea Poppers as much as I do! They’re not only packed with flavor but also healthy and satisfying. Whether as a snack, appetizer, or salad topping, they’re sure to be a hit. Wishing you happy cooking and delicious munching—enjoy every bite!